Maestro
Maestro Quickstart
Maestro is a modern mobile UI testing framework that allows you to write lightweight, readable YAML-based flows for testing native apps on Android and iOS devices. It is designed for fast iteration, ease of debugging, and seamless integration with both real devices and CI environments.
Maestro Documentation:
https://docs.maestro.dev/api-reference/commands
✅ Prerequisites
Before you begin, ensure you have the following installed:
- A SmartDust account
- Your SmartDust device remote debug key.
- Maestro CLI
- Android SDK
Step 1: Connect to device.
- Navigate to Dashboard
- Find Remote debug (probably on the upper left of the dashboard settings) and click Enable
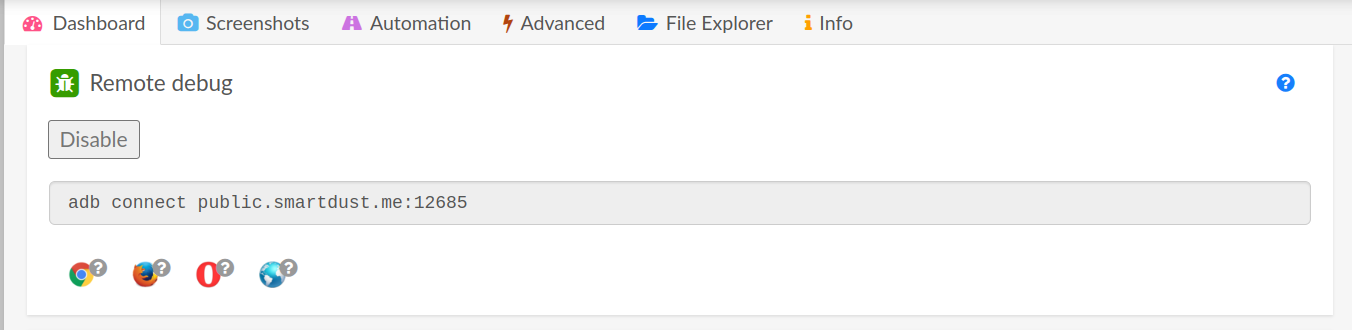
- Copy the code, it will look like this:
adb connect ...smartdust.me:.. - Paste the code to the terminal/Powershell/cmd
- On the website, accept to add the ADB key to SmartDust Lab. If you don't have any popup, try disabling and enabling Remote Debug.
Now you should be connected to the device via ADB.
Check the connection with:
adb devices
Expected output:
List of devices attached
123.45.67.89.smartdust.me:5555   device
if instead of device there is displayed offline, you should try to connect again.
Step 2: Upload your app to the device.
We will upload based on the Dust app: https://github.com/damiant/dust.
So, firstly build the app, for example, using bunx ng build and then deploy app using npx cap run android.
You should see the app on your device.
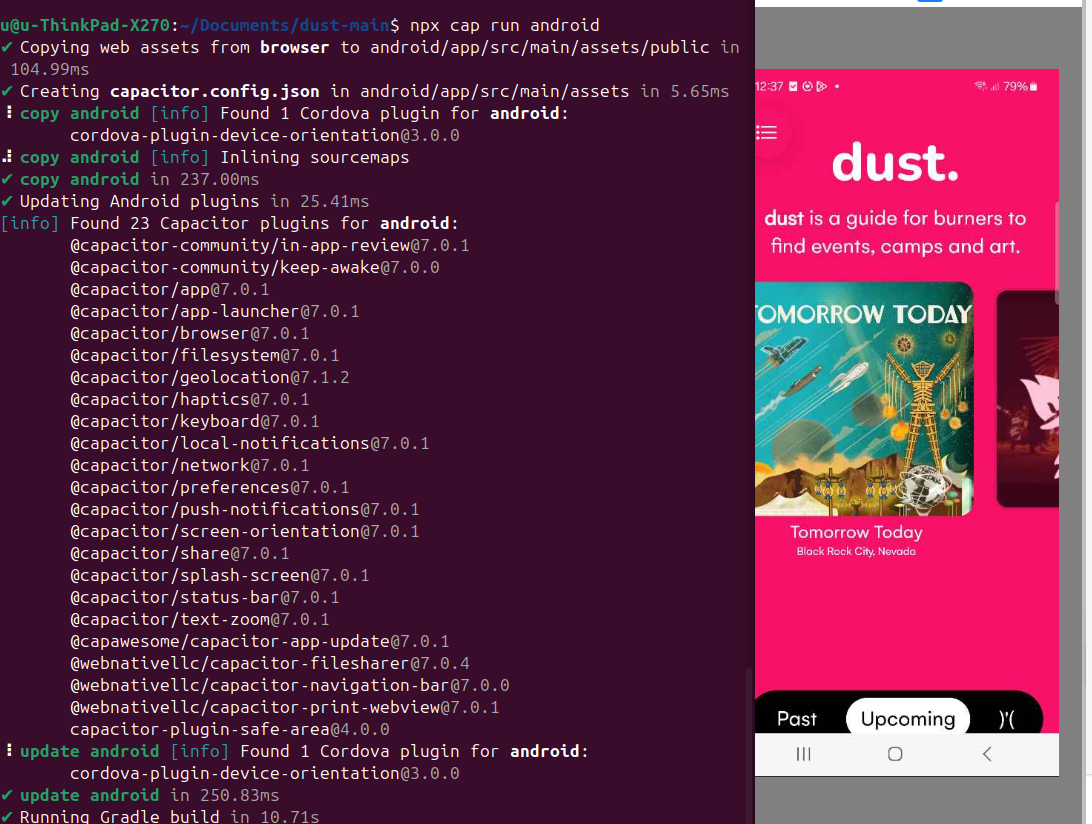
If not, check your terminal output for possible errors.
Step 3: Run the Tests
Now simply run the Maestro tests on your device using:
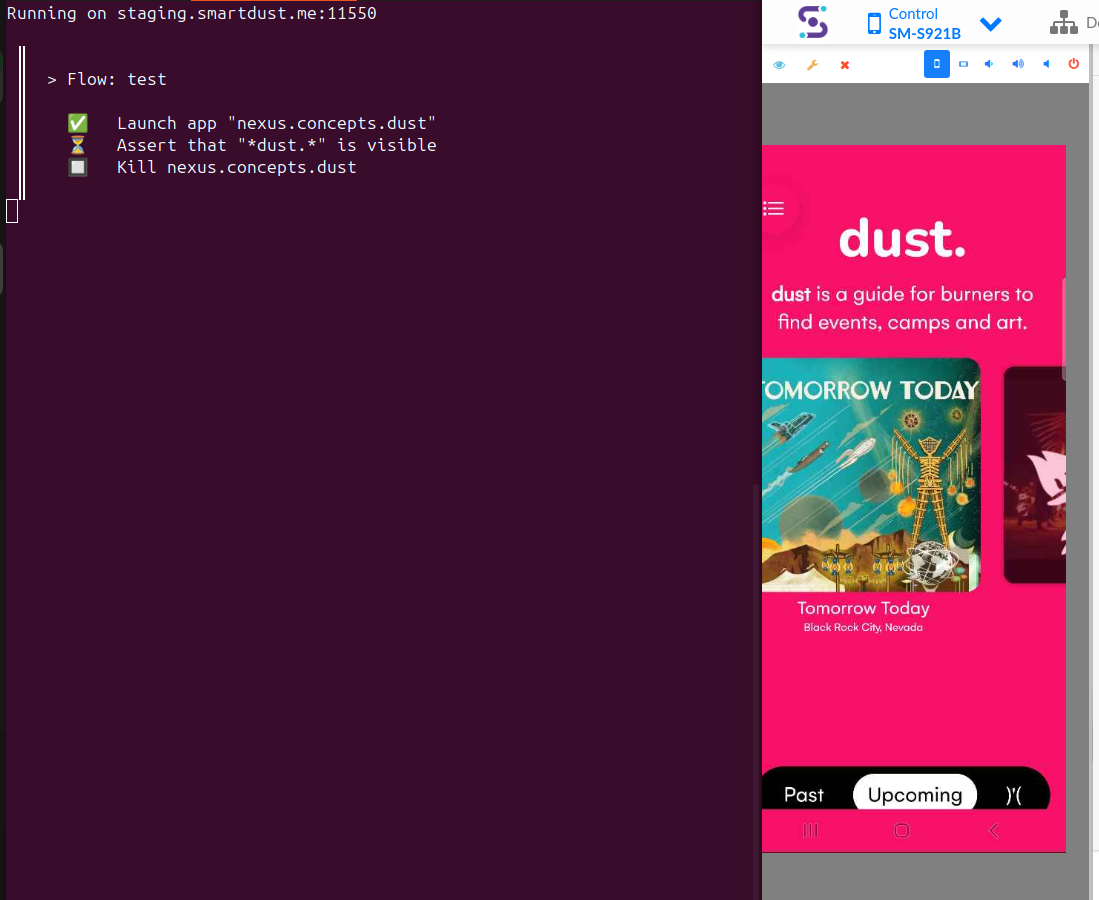
maestro test NAME_OF_THE_TEST.yaml